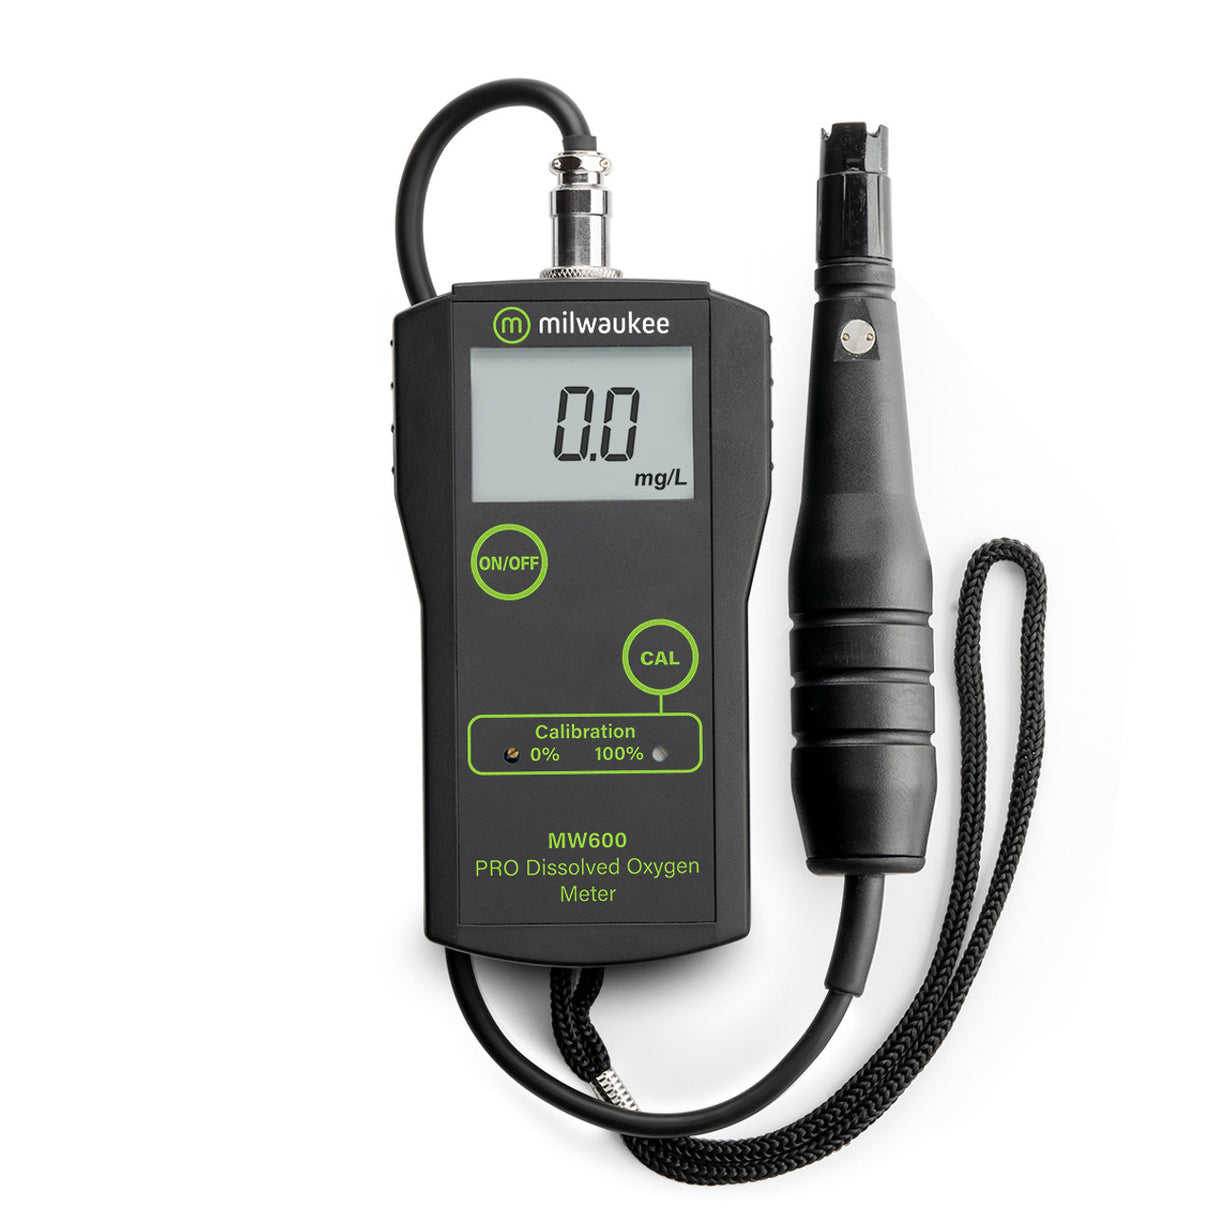
Milwaukee Instruments MW600 PRO Dissolved Oxygen Meter
Milwaukee Instruments MW600 PRO Dissolved Oxygen Meter is backordered and will ship as soon as it is back in stock.
Couldn't load pickup availability
Actual part may differ slightly from image shown.
Description
Description
Description
The Milwaukee MW600 PRO Portable Dissolved Oxygen Meter delivers professional-level accuracy and performance you can count on, wherever you go. Designed for precision and ease of use, this DO meter ensures rapid, reliable results, making it ideal for field biologists, educators, aquaculture specialists, and koi pond owners who require consistent readings without breaking the bank. Experience the convenience of laboratory-grade measurements in a portable package that enhances water quality management and supports aquatic life.
Design features
- Clear, instant readings on a large digital LCD display
- Repeatable accuracy to 1.5% FS for dependable monitoring
- Compact, lightweight, and easy to transport
- Streamlined 2-point open air calibration for dependable results
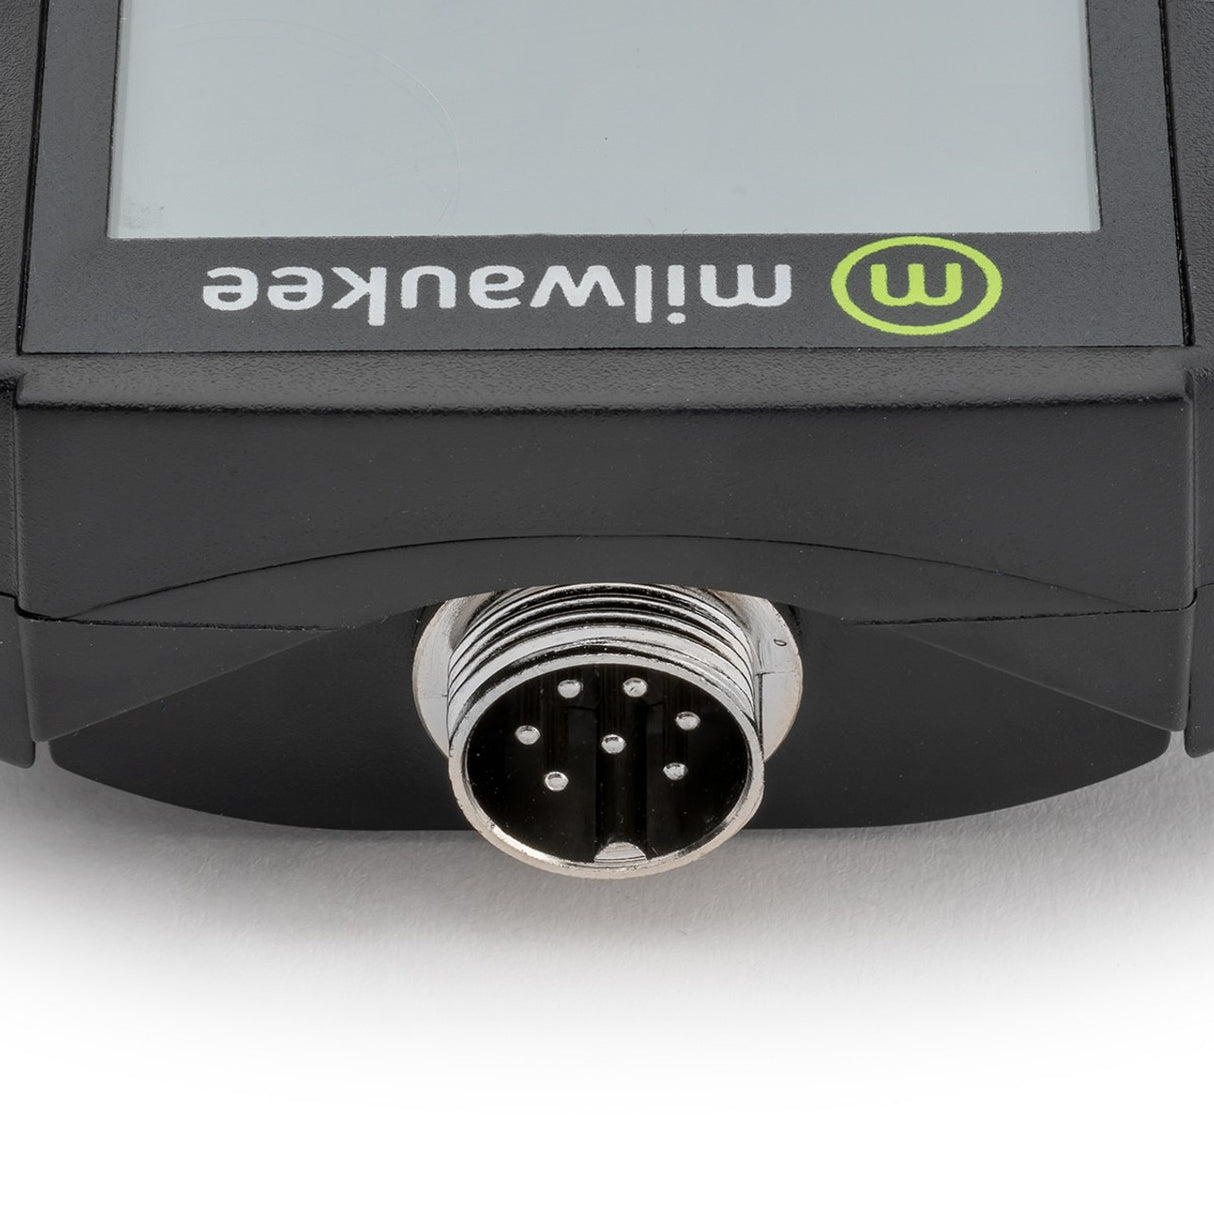
- Equipped with the durable MA840 polarographic DO probe featuring oxygen-permeable polytetrafluoroethylene (PTFE) membrane and robust ABS construction, with MA841 spare membrane compatibility
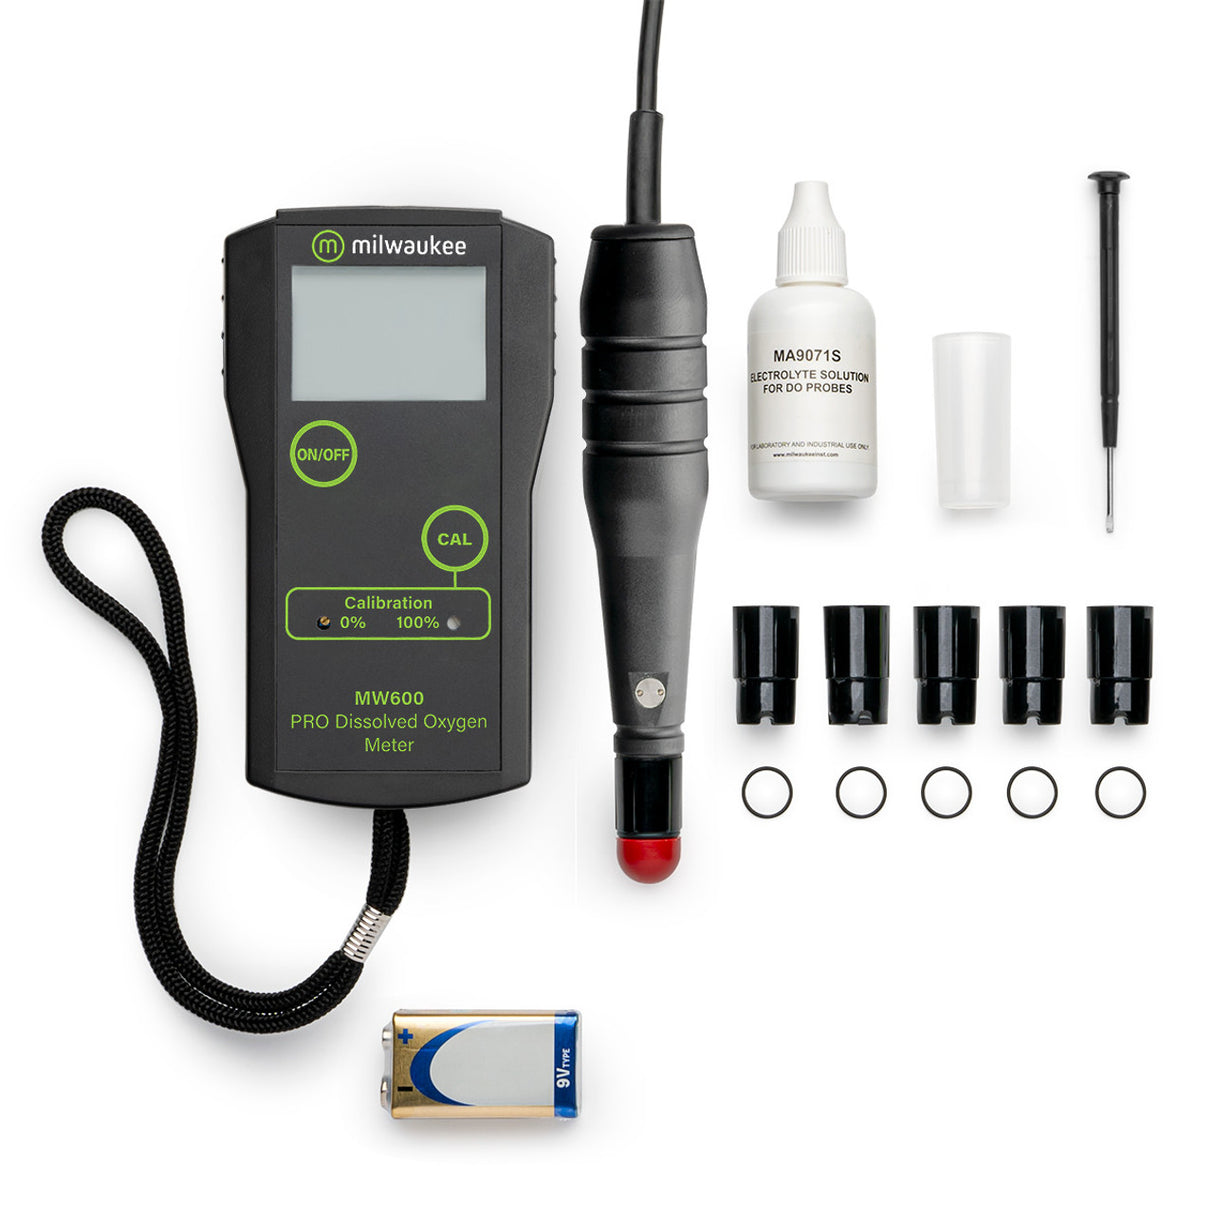
- Five o-rings, membranes, and one protective cap included for easy maintenance
- 10-foot probe cable allows flexible positioning during measurement
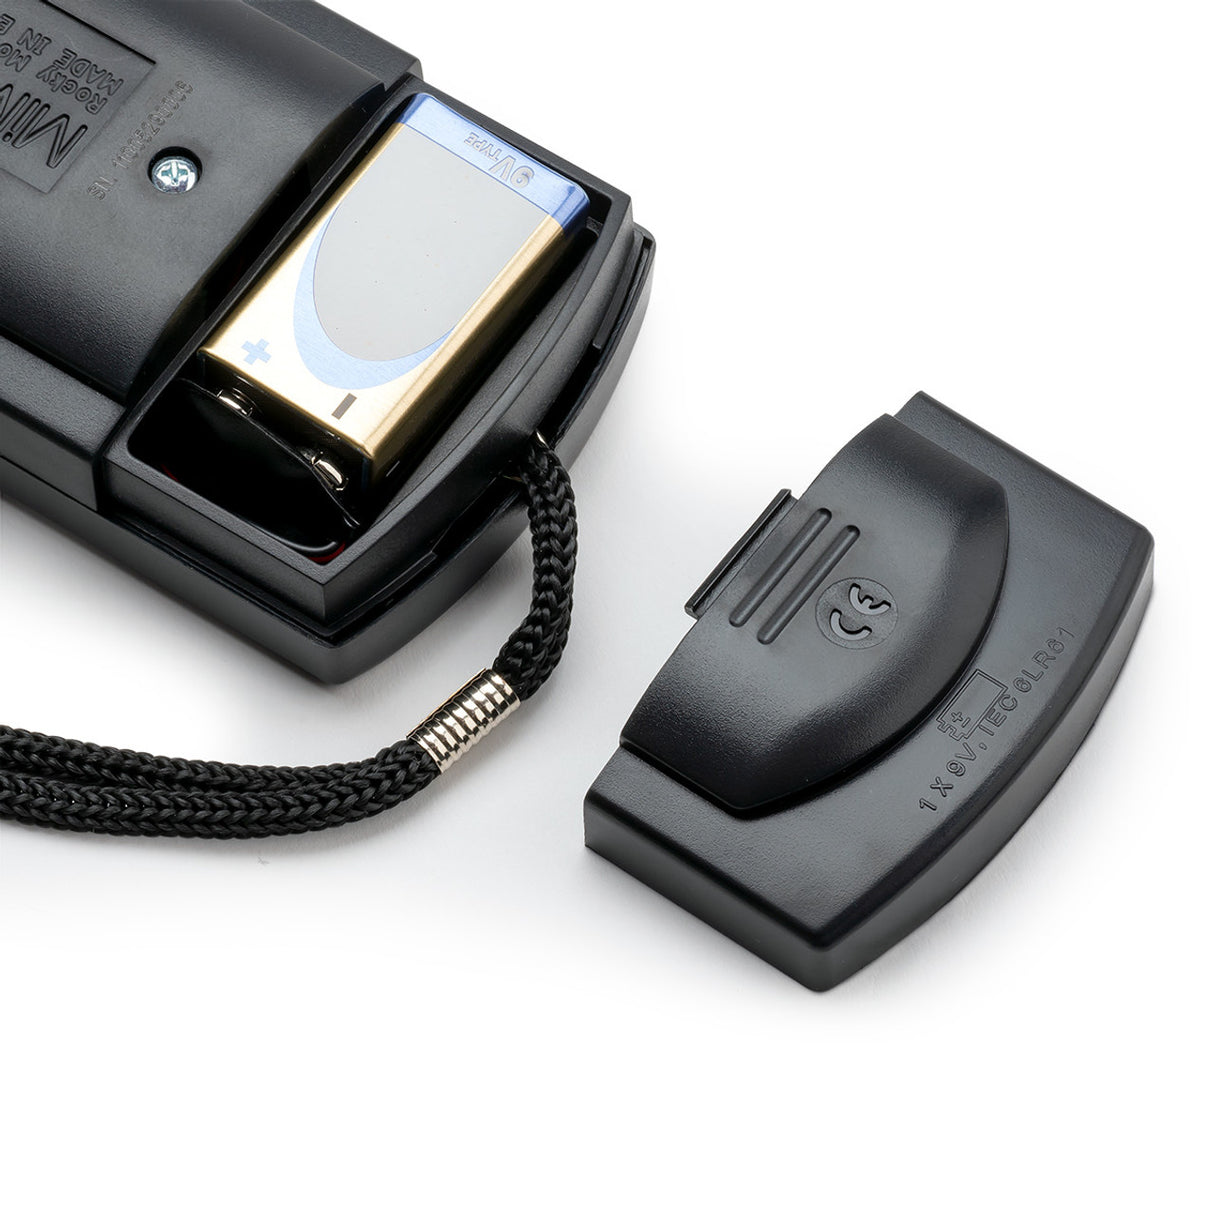
- Enjoy up to 70 hours of battery life with continuous use and a convenient low battery indicator
Care and Use
Open Air Calibration Procedure
1. Remove the membrane
Detach the membrane from the probe and dry the diode thoroughly.
2. Zero out the display
Connect the probe, power on the meter, and ensure the display reads 0.0. If needed, use the supplied screwdriver to adjust the “0” screw until 0.0 is shown.
3. Fill the membrane
Place the “O” ring inside the membrane at the thread base. Fill with MA9071 electrolyte solution, just below the o-ring, ensuring no bubbles are present.
4. Attach the membrane
Screw the membrane onto the probe securely.
5. Let stabilize
Hang the probe facing downward from a table and allow the display to stabilize, which may take 5 to 15 minutes.
6. Adjust
Press and hold the “Cal” button and use the screwdriver on the front Cal position “100%” to set the display to 100.
The meter is now calibrated.
Extra tips
- Replace membranes if you notice wrinkles or stretch marks.
- Always use fresh MA9071 electrolyte solution for calibration.
Additional Info
Additional Info
Not Familiar with PVC?
Check Out Our PVC Pipe Size Guide Here


